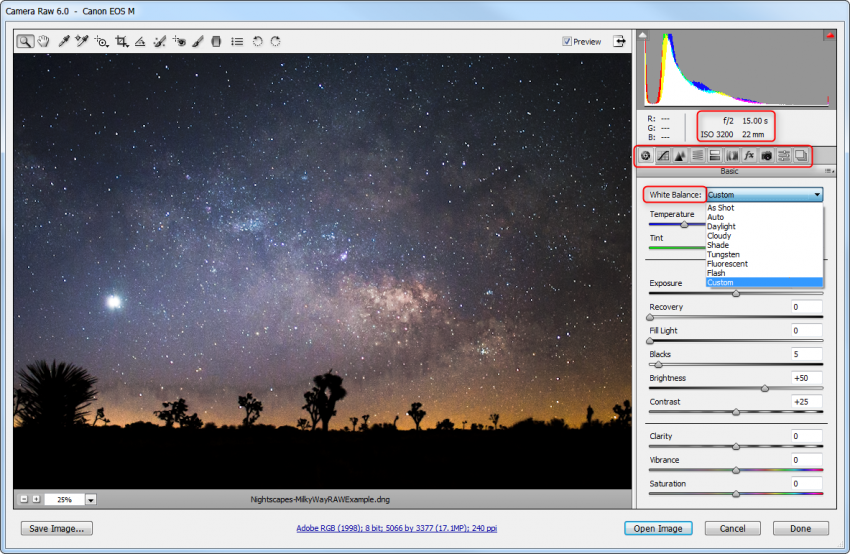

When you click that option, a new window should display your image to the left. Note, some tools at the top and a few sliders and settings might be on the right. This interface is the easiest to use for people who are new to this aspect of Photoshop.[/vc_column_text][/vc_column][/vc_row][vc_row][vc_column][vc_single_image image=”11388″ img_size=”large”][/vc_column][/vc_row][vc_row][vc_column][vc_column_text]Step 2 – Adjusting Your Image
At the top of the window, you will see some tools you can use to adjust your image. Take advantage of these before you start messing around with the sliders on the right, but if you do need them later they are still available.
Now you can begin to adjust your image. Start off with the Basic Tab which should be the currently active one by default. Move the sliders around until the image meets your preference.[/vc_column_text][/vc_column][/vc_row][vc_row][vc_column][vc_single_image image=”11389″ img_size=”large”][/vc_column][/vc_row][vc_row][vc_column][vc_column_text]
How to Use Camera Raw in Photoshop CS5
The white balance displayed here are the same options available in your camera. For example, if I choose the Fluorescent option, I will see the image appear as if I had used the Fluorescent option in the camera.
Keep in mind the setting that you use, the white balance in your camera actually does not affect the data as it is being captured. Therefore, you can alter that information after with no penalty in the terms of image quality.[/vc_column_text][/vc_column][/vc_row]
Check this out while you wait!
