
Change the foreground & background colors (if you like) and double click on the Layer to open Layer Style & click on Bevel & Emboss. Following are the settings I used. Also set was the Color Overlay.[/vc_column_text][/vc_column][/vc_row][vc_row][vc_column][vc_single_image image=”11108″ img_size=”full”][/vc_column][/vc_row][vc_row][vc_column][vc_column_text]Click Ok & Save it with Ctrl + S. Close the file.
Go back to the original file. There’s one more thing we would like to change with the text. Click on the 3D Extrusion Material – … & click on it. This will be for the depth color.[/vc_column_text][/vc_column][/vc_row][vc_row][vc_column][vc_single_image image=”11109″ img_size=”full”][/vc_column][/vc_row][vc_row][vc_column][vc_column_text]This will open in a new tab.[/vc_column_text][/vc_column][/vc_row][vc_row][vc_column][vc_single_image image=”11110″ img_size=”full”][/vc_column][/vc_row][vc_row][vc_column][vc_column_text]This will be blank right now. Go ahead and fill in with the foreground color either by going to clicking on the Paint Bucket tool or by pressing Alt + Backspace.
Now go ahead and add Gradient Overlay by double clicking on the layer and open the Layer Style window.
Click on the Gradient bar & open the Gradient Editor. Click on the lighter color and set it to the foreground color (you can set your own color of choice). Click on Ok & hit Ok again.[/vc_column_text][/vc_column][/vc_row][vc_row][vc_column][vc_single_image image=”11111″ img_size=”full”][/vc_column][/vc_row][vc_row][vc_column][vc_column_text]Save the new tab by pressing Ctrl + S and close the tab.
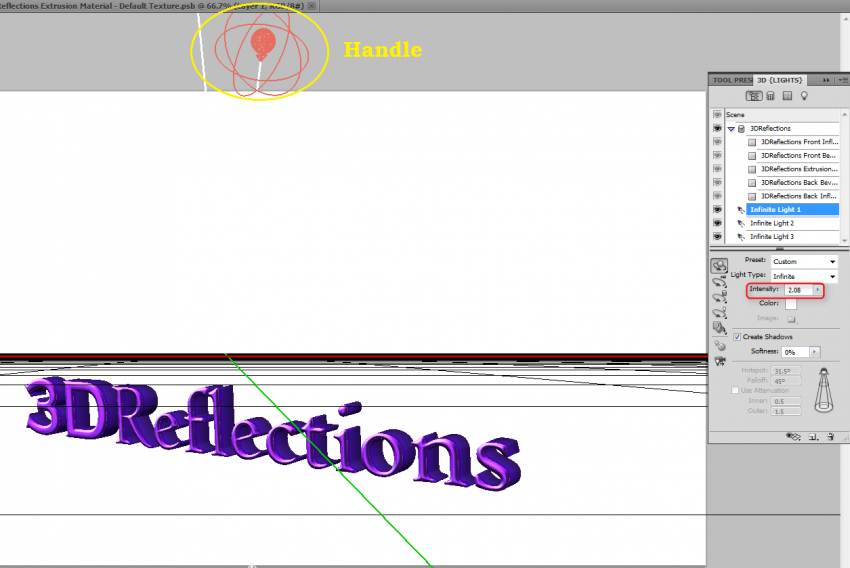
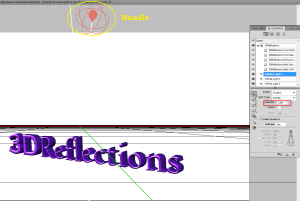
To Change The Light, go to the 3D panel and click on Infinite Light 1. Changing the intensity will make the front lighter or darker. The handle of the light is shown on top in red.[/vc_column_text][/vc_column][/vc_row][vc_row][vc_column][vc_single_image image=”11112″ img_size=”full”][/vc_column][/vc_row][vc_row][vc_column][vc_column_text]To change the direction of the light, click on the light rotate tool.[/vc_column_text][/vc_column][/vc_row][vc_row][vc_column][vc_single_image image=”11113″ img_size=”full”][/vc_column][/vc_row]
Check this out while you wait!