

Learn how to add a row or column to any Excel spreadsheet with this easy step-by-step process. Adding a row or column to an Excel sheet will help you manage larger files and create additions without changing or deleting the rest of the existing worksheet. This is a very handy feature to have when working with Excel. Download our example worksheet to follow along and learn how to achieve this skill.
Download the example of adding a row here.
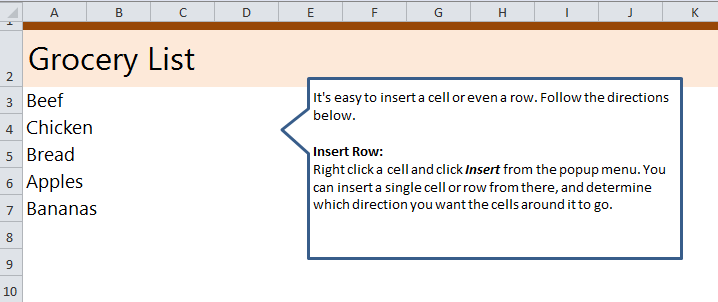
Once you have downloaded the example, open it and view rows three through seven which each contain text.
Select “5” and right click it. In the drop down menu, choose “Insert” and you will now have a blank row added.
From here, you can click the tiny drop down from this new addition to put the row on top of the 5 or below it.
If you would like to add a column, it is the same process but with the letters at the top.
Tips for Success: If you are working on a spreadsheet which contains formulas, make sure you adjust formulas after you have added a row or column if any of the cell texts have changed places.
Want to learn more about Excel? Visit our Guides to Excel section and learn beginner, intermediate, and advanced techniques to become an Excel master.
Check this out while you wait!