

Just like any document, adding a header and footer in Excel is good way to make a presentation or chart look clean, professional, and easy to navigate. Adding the header and footer is simple, here’s how:
Click the top “Insert” tab, located next to the default “Home” tab in the Excel Ribbon.
Choose “Header & Footer” from the text section. It looks like the picture below:
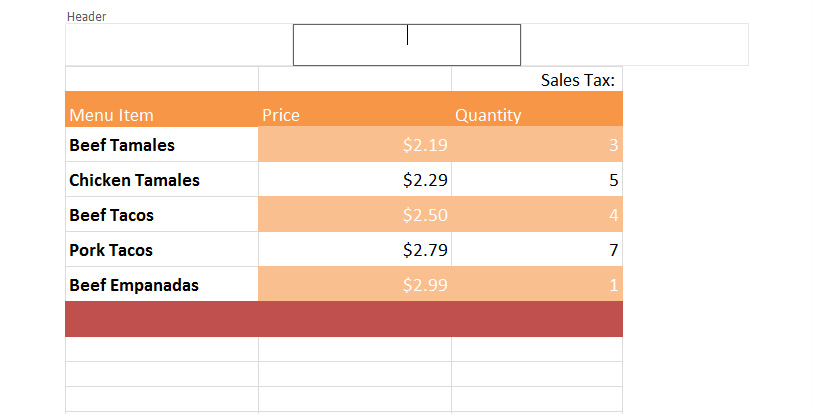
Three boxes will appear at the top of the page once this has been chosen. Click on the selection you want your header to appear in.
You can now enter any text for the header. In the Excel Ribbon Toolbar, you’re provided options for default header fillers. You can add file path, date, time, and other text. Take advantage of these, or enter your own text.
For the footer, scroll down and choose the “Add Footer” option. Use the same toolbar as you had for the header to input pre-made text or create your own.
Check this out while you wait!